It’s apple season! Aside from picking about 20 lbs of apples, we also got a gallon of pasteurized apple cider from Recon Farms. Cider’s actually much easier to brew than beer because there are only two ingredients: apple cider and yeast. Make sure the cider has no preservatives in it; yeast will not be able to grow in cider that has any sort of sorbate in it. After sterilizing and sanitizing everything, these are the rough steps:
Primary fermentation: Oct 11, 2015
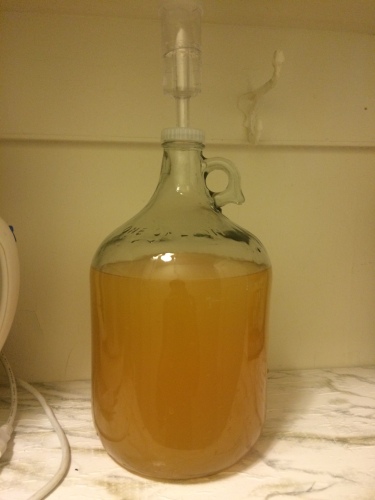
- Pour all the cider into a 1 gallon glass jug.
- Pitch yeast. Use champagne yeast. The 5 oz package was for a 5 gallon batch, but we put all of it in. We also rehydrated the yeast using a bit of warm water; you’re supposed to pitch 1 oz by just sprinkling it on top.
- Put a cap and air lock on top. The cap that came with the jug didn’t have a small rubber hole, so we used the rubber tubing to go from the top of the jug into a half gallon of water. The gases could escape through the tube into the half gallon container, but things couldn’t go back up the tube into the jug.
Initial gravity reading: (messed up and made reading after pitching the yeast.) 1.040
Secondary fermentation/Racking: Oct 17, 2015
4. Using a siphon, move all of the cider from the primary jug into a sterilized secondary jug. I moved everything into a large container, washed the primary jug, and moved it back into that container.
5. Cap with an air lock. Didn’t use the half gallon with tubing this time, but just a regular air lock. 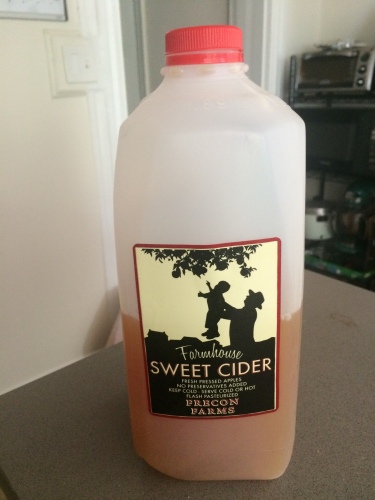
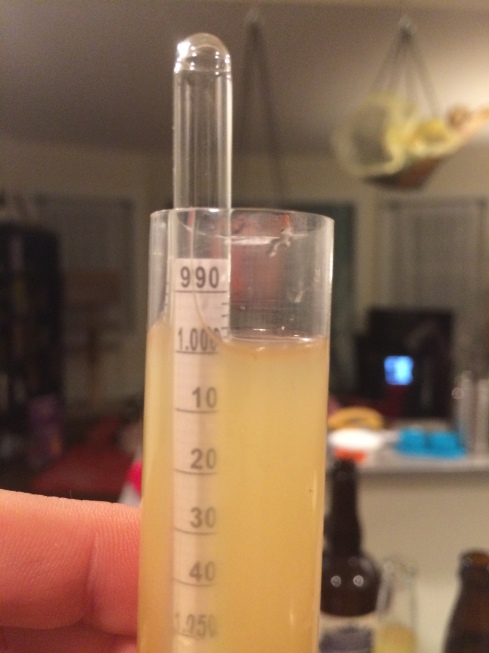
Final gravity reading (6 days later): 1.010
Poured one cup of cider out for hydrometer reading. It smelled like cider but with a bit of brewing yeast flavor, and a strong alcohol smell. It tasted cool, a little sour, still had some apple flavor, and was not sweet. It was mild and didn’t have a lot of alcohol flavor; no off flavors. Kind of similar to the third jug of apple cider that we bought, left in the car for a day, and is now slightly fermented in the fridge.
Bottling: TBD, about 4 weeks from racking
Resource: http://www.howtomakehardcider.com/rack-bottle.html
Update: Bottling: Dec 22, 2015
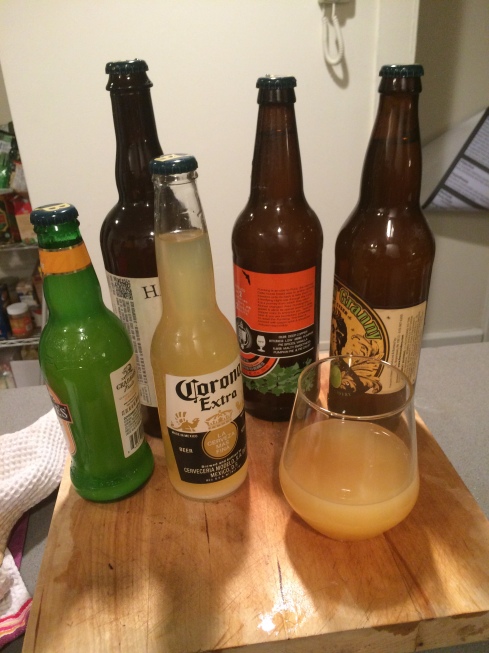
Well, what happened was a little bit of residue started forming on the surface of the cider (white yeasty stuff) and a little something was growing in the air lock. So I kind of gave up on this batch. I was disheartened, so instead of dumping it out, we just decided to leave it. 2 months later, I decided to just clean it up. Well, when I opened the cap, it smelled amazing. Not yeasty anymore, not stinky or bitter, but sweet and slightly acidic like fermented apples should. The layer of residue on top of the cider wasn’t mold or bacterial colonies. They looked more like the yeast and foam that had formed from initial fermentation. I decided to go for it anyways. I would be bottling about a gallon of fermented cider into 4-6 bottles of beer that were a bit more than a pint. The largest was 1 pint 9 oz; the smallest large bottle was 22 oz; I also had a clear Corona bottle and a green Granny cider bottle just so I could look in throughout the bottling process.
- Cleaning: rinse all the bottles with soap and water. Rinse bottles 2x with C-brite (about half a gallon with a half teaspoon.) I didn’t rinse with regular water but I should have because there were C-brite bits in the cider after bottling, so I had to dump out some precious cider to get rid of it.
- Backsweetening with dextrose. I had a 5 oz bag of dextrose from an old batch of beer brewing supplies. I also crushed one half of a campden tablet into the dextrose – not sure how well it mixed. The recommended amount is one tablet per gallon. I have a weird mix of feelings in that I want the yeast to stay around and create bubbles, and I want the yeast to all be gone so that the sugar remains as a sweet element.
- Because I bottled first, I now had three ~1 pint bottles and two 12 oz bottles. Ideally I would rerack, mix in the priming sugar and campden into the liquid before bottling. Instead, I guestimated about 1 oz of sugar into each bottle, with more going into the larger ones. Let’s see how this turns out.
Evaluation of the cider. The taste was very tart. It smelled sweet and apple-y but was not, but it was also not vinegary. The hydrometer reading before adding sugar was 0.998 or 1.000. I could not make a post sugar hydrometer reading. So theoretically, the cider is a 10% (!) cider. It sure smells that way.